Setting up Proxmox VE on a Dell Inspiron

This guide walks through how I installed and configured Proxmox VE on a Dell Inspiron system for my homelab. The setup lets me experiment with VMs, VLANs, and internal routing.
Hardware Overview
- Server: Dell Inspiron running Proxmox VE on bare metal
- Storage: 100 GB allocated to Proxmox system disk; rest for VM disks (local-lvm)
- Network: One Ethernet interface, bridged in Proxmox for LAN/trunking
I only allocated 100 GB to the Proxmox root disk during install. You can grow storage later by adding a disk or creating new LVM/thin pools.
1) Proxmox Startup and Install
Right after booting from the Proxmox VE installer USB, you’ll see the startup/installer menu:
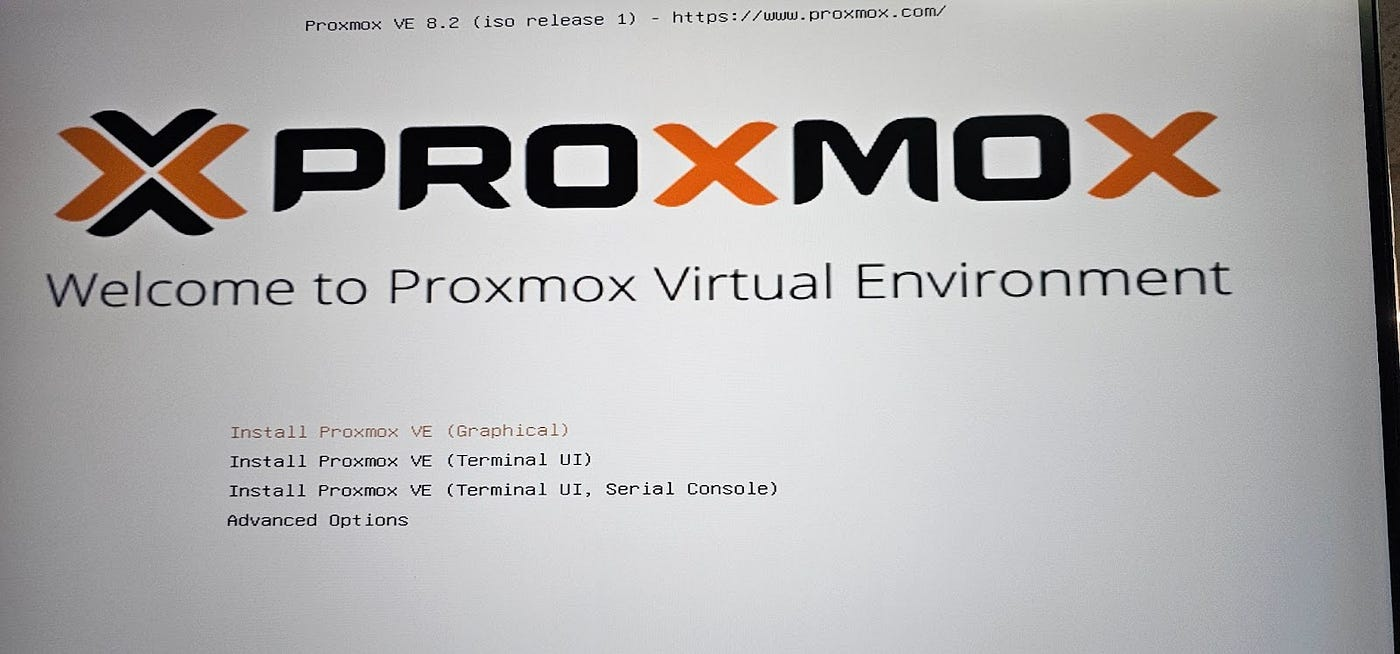
I downloaded the latest Proxmox VE ISO and flashed it to a USB drive, booted the Dell Inspiron, and installed Proxmox to the internal disk. During setup I selected a small system disk size (~100 GB) for the Proxmox root volume.
2) Networking Setup (Manual)
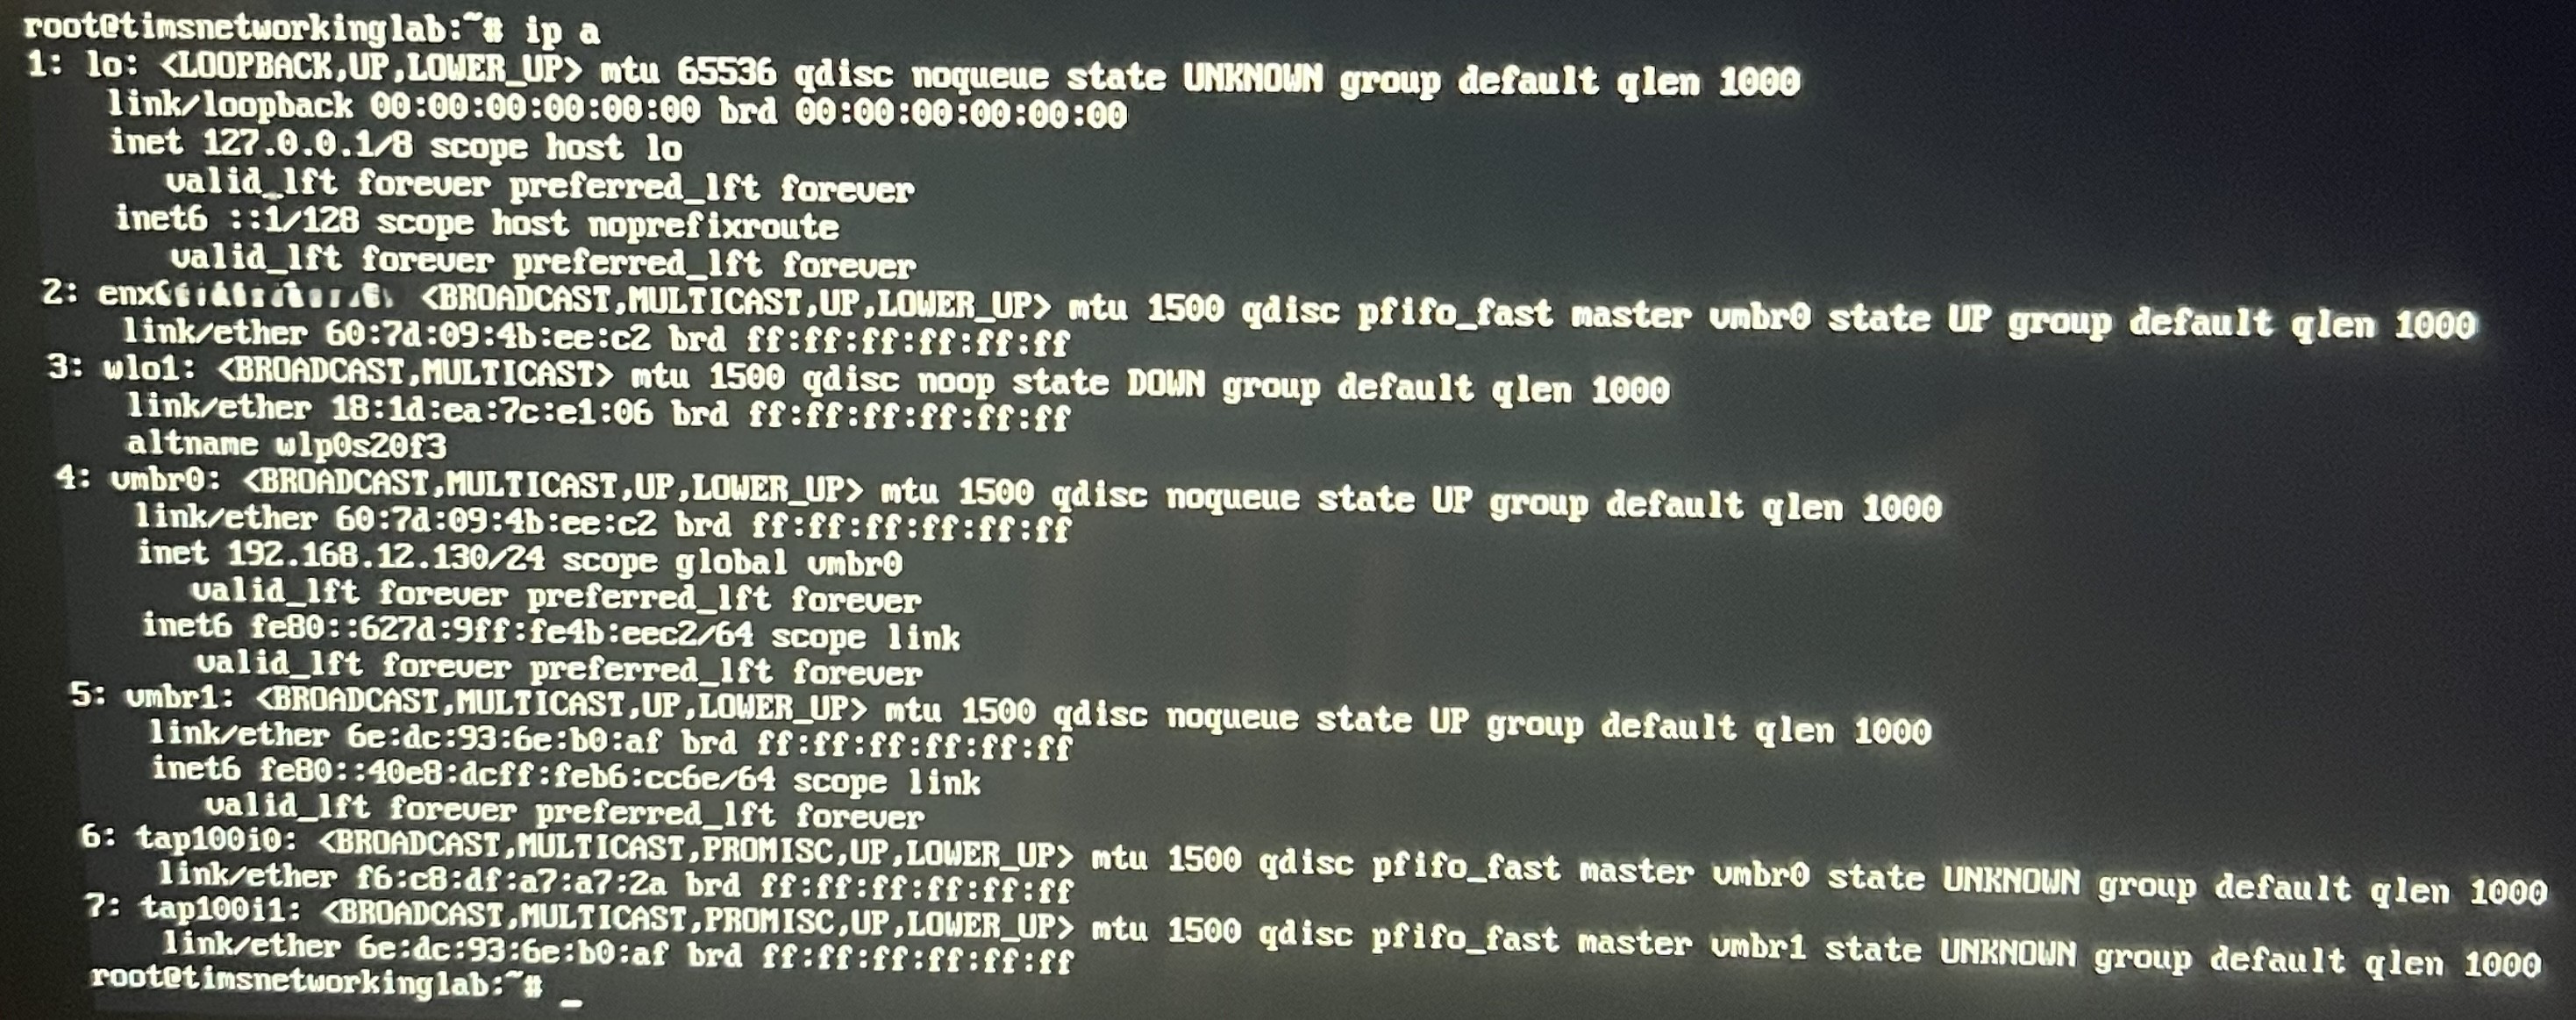
Proxmox didn’t recognize my LAN interface automatically, so I manually configured networking:
- Run
ip ato find your NIC - Edit
/etc/network/interfacesto set up bridge and static IP
Example output:
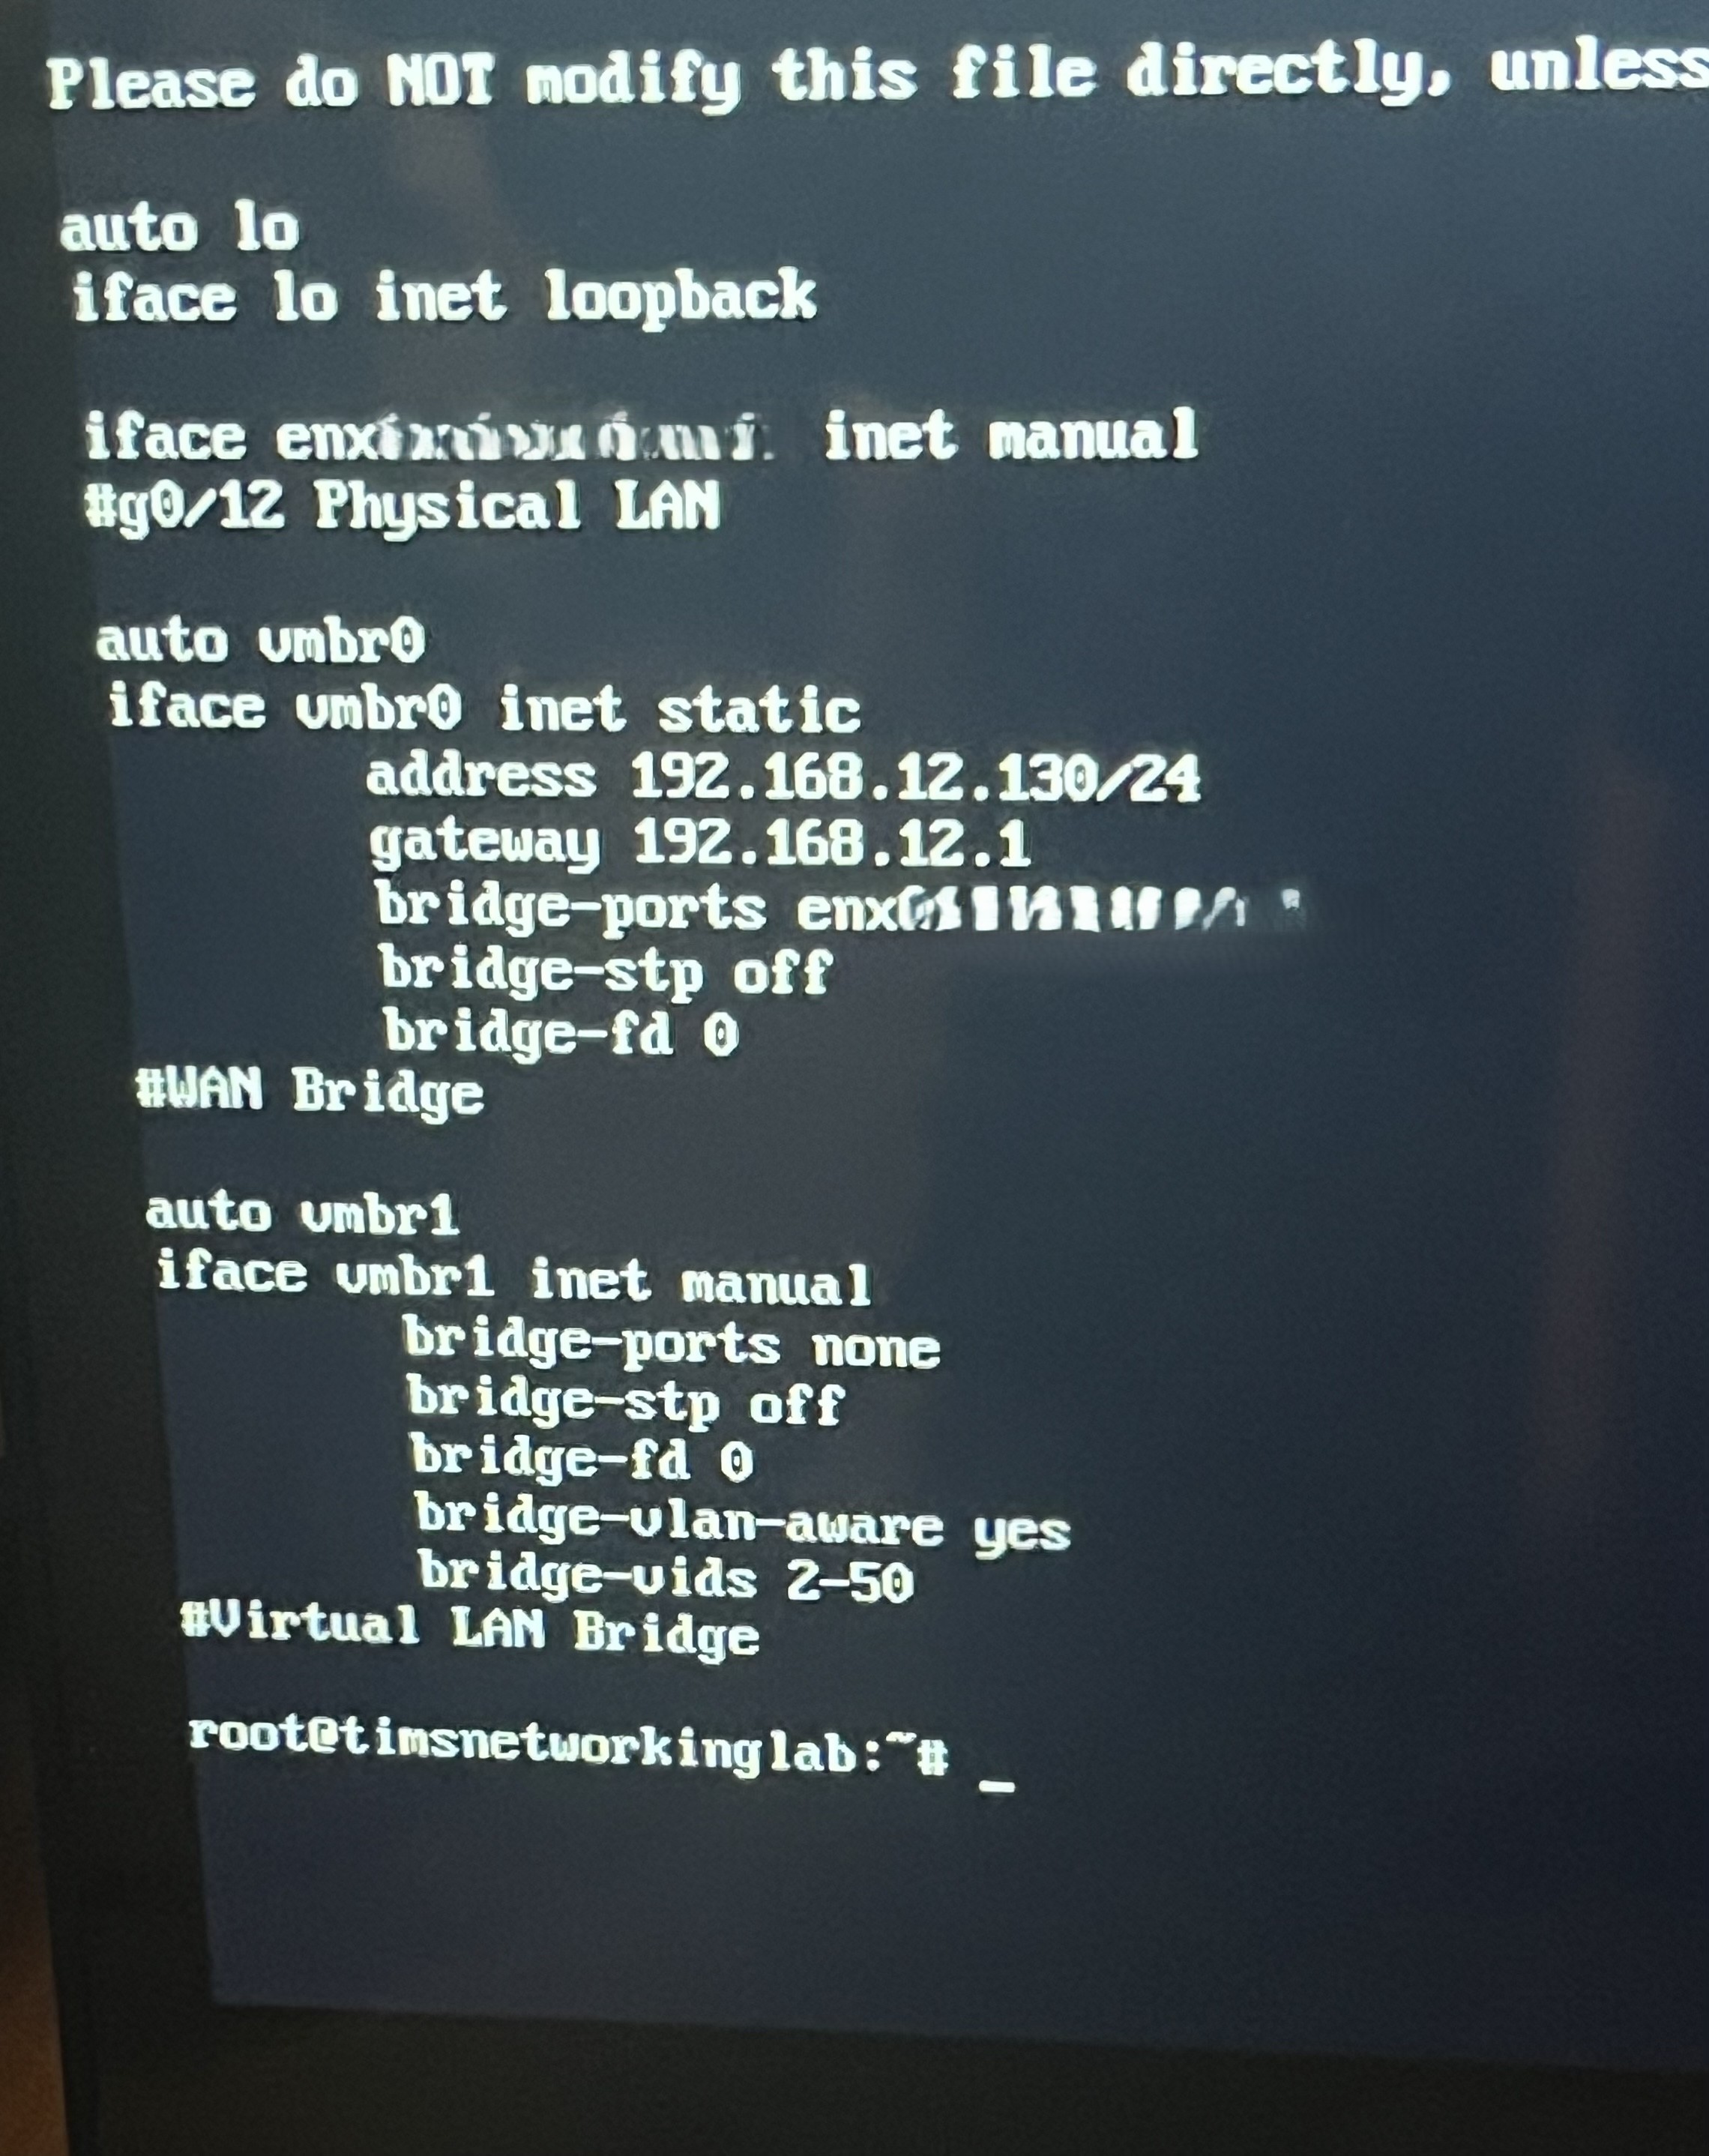
Then edit the interfaces file:
 Network interface blurred.
Example config:
auto lo
iface lo inet loopback

iface <YOUR-NIC-NAME> inet manual
    # Physical LAN

auto vmbr0
iface vmbr0 inet static
    address 192.168.12.130/24
    gateway 192.168.12.1
    bridge-ports <YOUR-NIC-NAME>
    bridge-stp off
    bridge-fd 0
Replace <YOUR-NIC-NAME> with your actual NIC (e.g., enx123456789abc).
3) First Login
After reboot, log into the web interface at:
https://192.168.12.130:8006
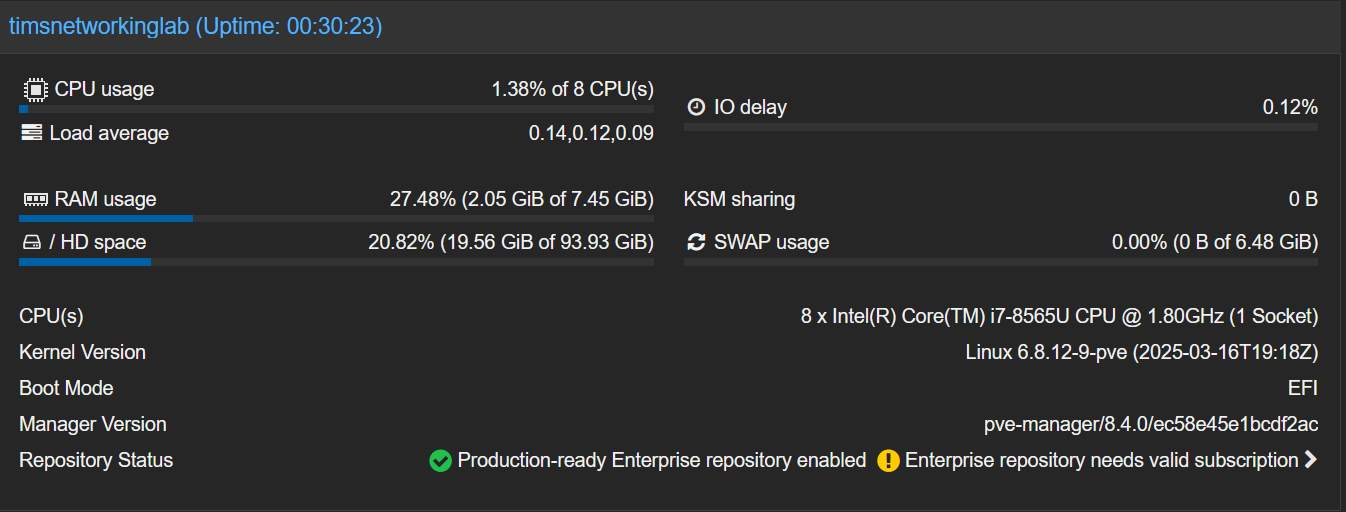
Once the node comes online, the Proxmox Summary page shows system resources and the repo status warning (normal without a subscription):
4) Post-Install Tweaks
- Switch to no-subscription repo (optional)
- Update packages and reboot
- Set timezone and NTP
What’s Next
- Create VLAN-tagged networks for lab isolation
- Spin up pfSense as a router/firewall VM
- Deploy VMs for apps like Nextcloud, monitoring, or dev tools