
pfSense • Virtual Firewall/Router
pfSense Setup on Proxmox Inspiron Server
This guide walks you through installing and configuring pfSense as a virtual firewall/router on your Proxmox homelab Inspiron server.
Prerequisites
- Proxmox VE installed and running
- pfSense ISO downloaded from pfSense.org
- At least two virtual NICs (WAN/LAN)
Step 1: Create pfSense VM in Proxmox
- Log in to Proxmox web UI.
- Click Create VM.
- Name:
pfSense. - OS: Select the pfSense ISO as the CD/DVD.
- System: Default (Q35, SeaBIOS/UEFI).
- Hard Disk: 10GB+ (VirtIO SCSI recommended).
- CPU: 2 cores minimum.
- Memory: 2GB+.
- Network: Add two NICs (one for WAN, one for LAN), use VirtIO.
Step 2: Install pfSense
- Start the VM and open the console.
- Follow pfSense installer prompts:
- Accept defaults for most options.
- Assign WAN/LAN interfaces (usually vtnet0/vtnet1).
- Set admin password.
Step 3: Initial Configuration
- Access pfSense web UI via LAN IP (e.g., http://192.168.1.1).
- Login with admin credentials.
- Run the setup wizard:
- Set hostname, domain, DNS.
- Configure WAN (DHCP/static as needed).
- Set LAN IP/subnet.
- Change admin password.
Step 4: Basic Firewall Rules
- Allow LAN to any (default)
- Block WAN to LAN
- Add rules for VPN, port forwarding as needed
Step 5: Optional Enhancements
- Enable pfBlockerNG for ad/malware blocking
- Set up OpenVPN server
- Configure VLANs for network segmentation
Troubleshooting
- If you lose LAN access, use Proxmox console to fix IP/rules.
- Check Proxmox network bridge settings if WAN/LAN not working.
References
Result: pfSense Web UI
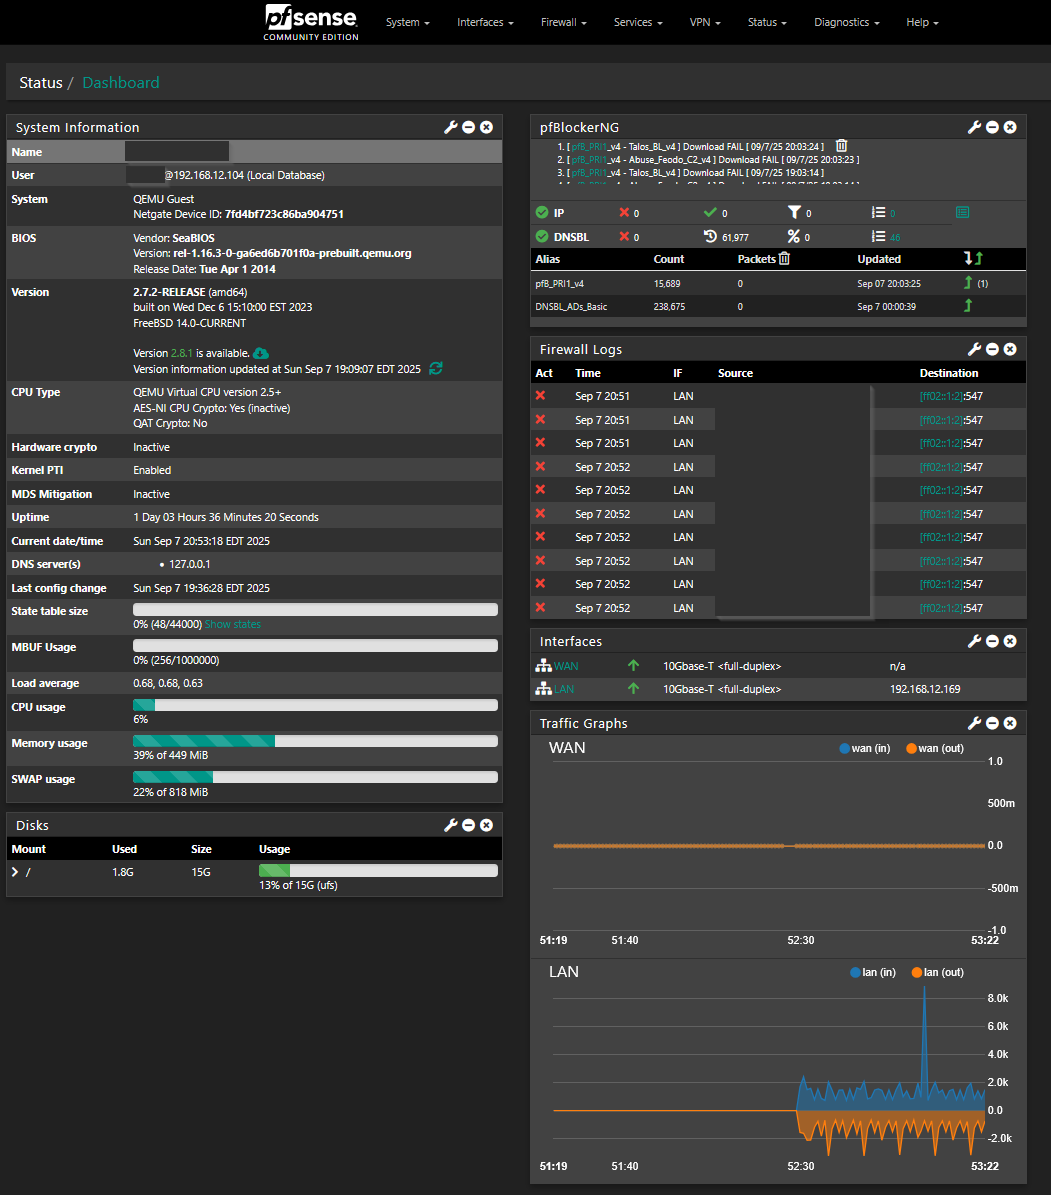
pfSense running successfully in Proxmox
Last updated: September 25, 2025